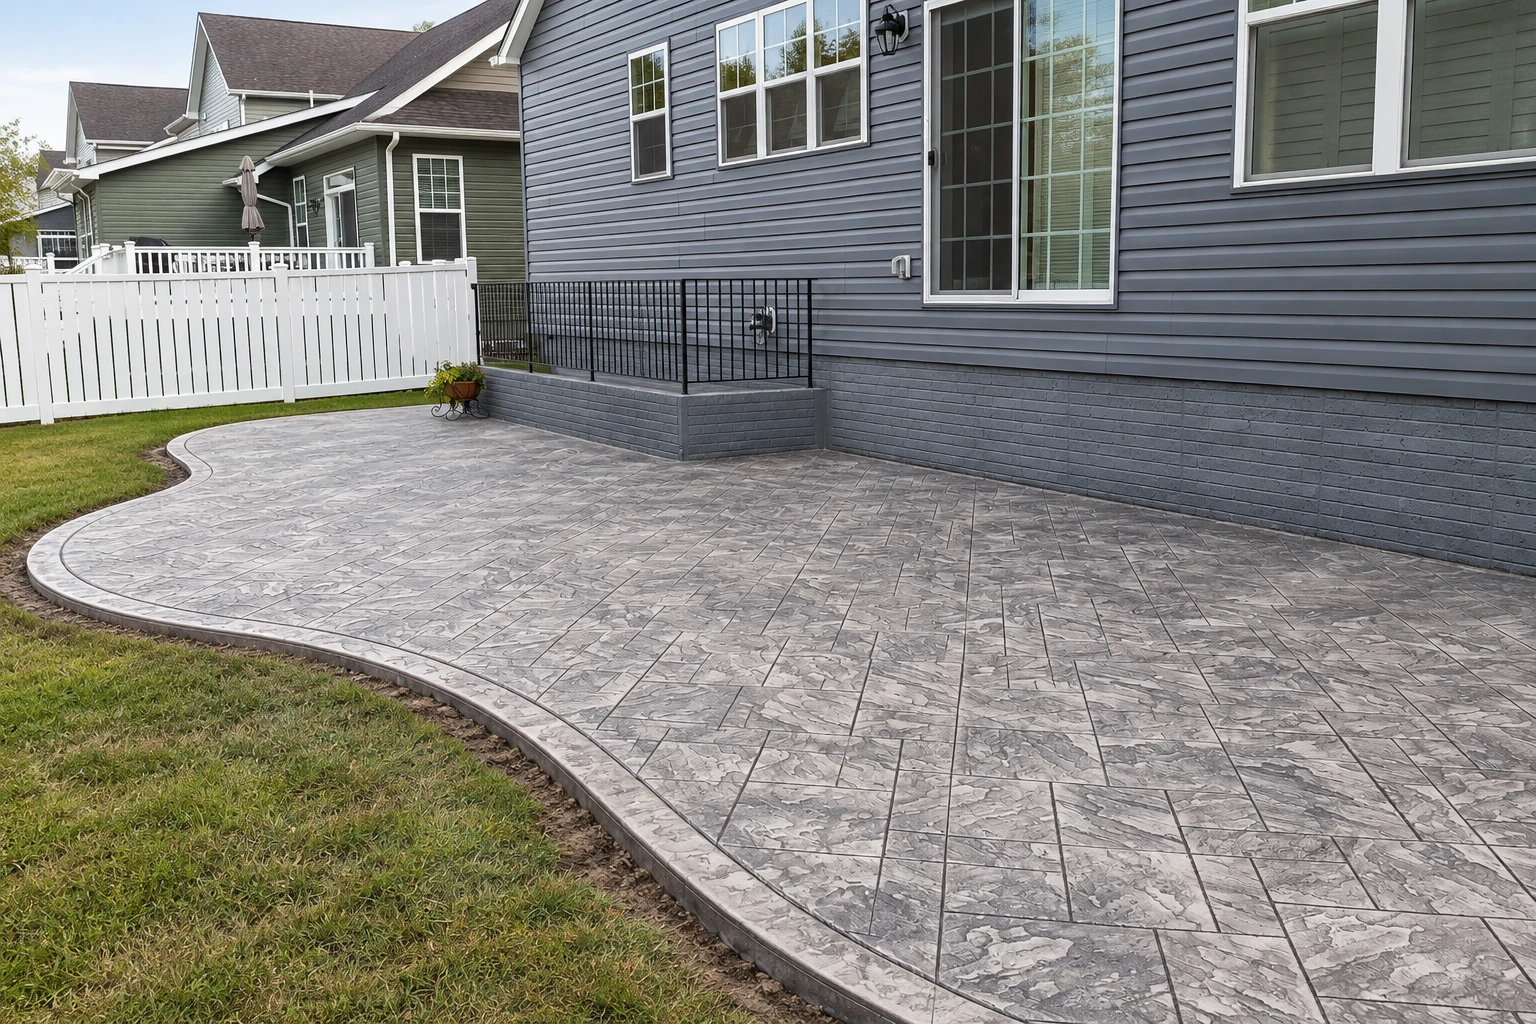
I start by walking the area with you and checking where the water runs, because a slab that falls toward the house sends water at your foundation. Then our crew digs out to the depth the slab needs plus a layer of base underneath, and packs that base hard, since a base that's only raked level settles with the dirt and takes your pattern down with it. We set the forms and the steel, then go over the color with you. Color can be mixed all the way through the concrete or spread on top of the fresh surface, and that changes how a chip or scrape looks later, because a deep chip in top-only color can show plain concrete underneath. We pour early in the day so the surface doesn't dry out before we can stamp it, press in the pattern, cut the control joints, which are planned lines that give the slab a place to crack instead of somewhere random, and seal it. I pick the pattern with those lines in mind so they tuck into the grout lines where possible. If the budget gets tight, I'll tell you to choose a simpler pattern before you skimp on the base, because nobody sees the base on day one, but it's what decides whether the stamped surface stays flat.
Stamped work usually sits next to plain concrete. Front walks often get a brushed texture for grip instead of a pattern, and we pour those through our concrete sidewalk building work, matching the edges to the stamped section. If your garage slab is cracked or uneven too, we can look at garage floor concrete on the same visit so you're not booking two estimates.
Brick and cut-slate patterns
These suit you if you'd like the joints to disappear, because their grout lines run roughly straight and parallel, so we can often hide the control joints right inside them. They also line up neatly along walks and patio edges.
Random stone patterns
These suit you if you want a looser, natural flagstone look and don't mind seeing some joint lines, since random grout lines can't hide a straight cut. I'll show you where the joints will land before we pour.